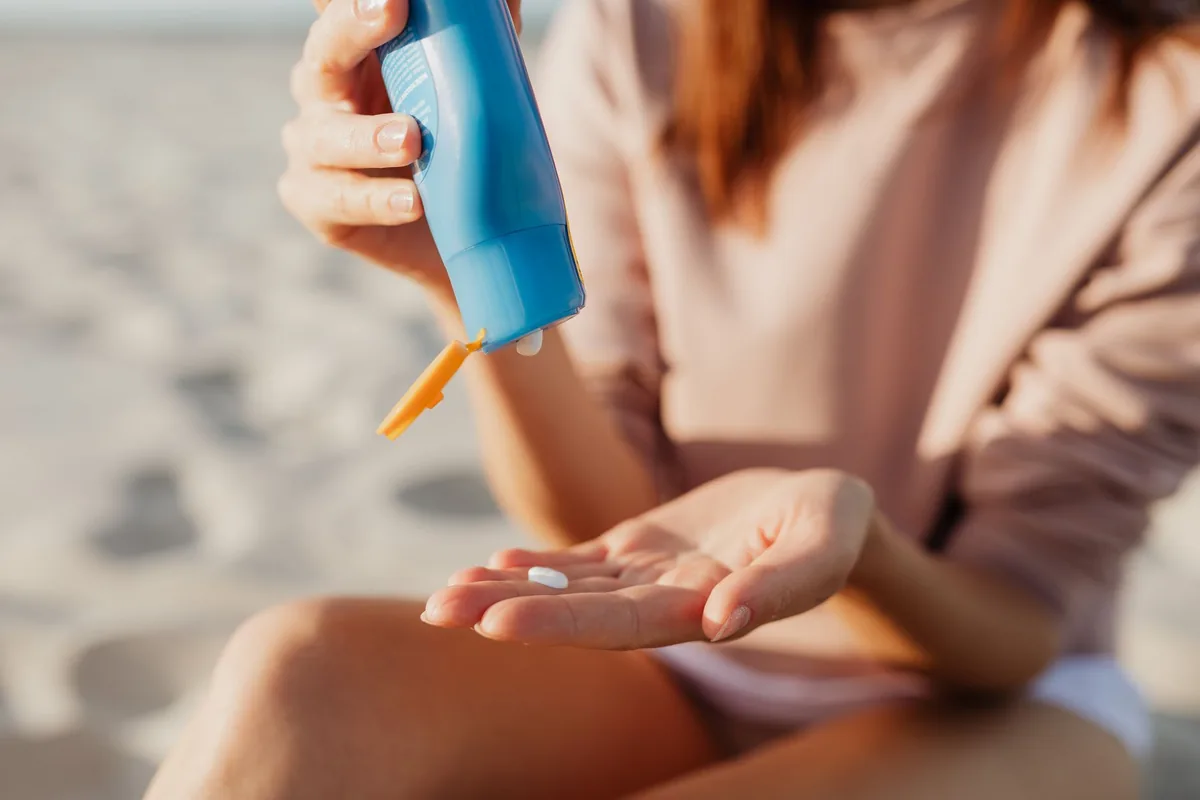
Sunscreen is one of those rare daily habits where the reasoning is straightforward, but the midday follow-through gets complicated quickly once makeup is involved. Morning SPF wears down through oil, sweat, and normal contact, yet the standard advice to reapply every couple of hours doesn’t account for a full face of foundation or powder. That gap leaves many people choosing between sun protection and keeping their makeup intact—or quietly skipping the second layer altogether.
The tips for reapplying sunscreen over makeup in this article are meant to make that choice less binary. I’ve researched the approaches dermatologists commonly describe—powder sunscreens, SPF setting sprays, patting a liquid formula over makeup, and targeted spot reapplication—and weighed the practical trade-offs: convenience versus coverage, finish versus friction, and how to avoid disrupting your base. This is general information, not individualized advice, and product availability or formulations can change, so checking current labels is worthwhile.
What follows is a breakdown of seven strategies that can fit different makeup styles and skin types, along with the limitations of each. If you have a history of sun damage, a skin condition, or uncertainty about which formula is right for you, a board-certified dermatologist can offer guidance specific to your skin. For everyday protection, though, having a realistic midday routine usually beats a perfect morning application that never gets renewed.
Why Reapplication Over Makeup Is Non-Negotiable
Fact-checked. Sunscreen is not a set-and-forget product. Reapplication matters because protection fades throughout the day, and makeup rarely fills the gap.
How sunscreen breaks down during the day
Sunscreen forms a thin protective film on the skin. Chemical filters absorb UV energy and gradually degrade, while mineral filters can shift or clump as skin moves. Sweat, oil, and natural shedding loosen that film, and wiping your face, touching your nose, or applying makeup can rub it away unevenly.
This is why the SPF number on the bottle does not stay constant. Health authorities generally advise reapplying sunscreen every two hours, or more often after swimming or sweating. In real-world use, the film is thinner in some spots and gone in others, so a single morning application may leave exposed areas by midday.
- UV filters degrade after absorbing sunlight
- Sweat and facial oil dissolve the film
- Friction from masks, phones, or makeup tools removes product
Think of sunscreen like a coat of paint on a busy surface: it wears down fastest where movement and moisture are highest.
Why makeup alone doesn't provide enough protection
Makeup with SPF can help, but it is usually applied too thinly to reach the labeled protection. Foundation, powder, or tinted moisturizer is also unevenly distributed around the nose, jawline, and hairline, and it is not reapplied every two hours. As a result, SPF in makeup is best treated as a bonus, not a primary sunscreen.
Tips for reapplying sunscreen over makeup focus on disturbing coverage as little as possible. You can pat a lightweight liquid sunscreen over makeup with a sponge, press a powder sunscreen into the skin, or use a facial mist with SPF and let it dry. After reapplying, a light dusting of powder can help reset the finish. These options work differently, so the best choice depends on your skin type and how much coverage you want to preserve.
This content is for reference only and does not replace professional medical advice. If you have a specific concern about sun protection or skin health, consider speaking with a board-certified dermatologist.

Choose the Right SPF Formula for Over Makeup
Fact-checked Tips for reapplying sunscreen over makeup usually come down to matching the formula to your finish and lifestyle. A good touch-up product should add UV protection without lifting foundation, smearing concealer, or leaving a white cast.
Mineral powder sunscreens
Mineral powder sunscreens use finely milled zinc oxide or titanium dioxide in a dry, brush-on format. They are a practical midday option because they absorb oil, blur shine, and sit on top of makeup rather than moving it. The main trade-off is coverage: a light dusting may not deliver the same even layer as a liquid or cream you rub in, so they work best as a supplement to a solid morning base.
A simple analogy is blotting paper with SPF. You can tap powder over your T-zone after lunch or a commute, but it is not a replacement for a thorough first application. Brush-on formats also create less mess than reapplying a lotion over blush or bronzer.
- Blot excess oil before powdering so the minerals stick evenly.
- Tap the brush or close the cap and shake to avoid clumps around the nose and brows.
- Reapply often during prolonged sun exposure, and after sweating or wiping your face.
Face mists and setting sprays with SPF
Face mists and setting sprays with SPF are the easiest to apply over a full face of makeup because you simply close your eyes, hold the bottle away from your face, and mist. They dry quickly and can refresh makeup, but even application is harder to control. Wind, uneven hand movement, or holding the bottle too close can leave some areas with more product and others with less.
Use a cross pattern—mist once horizontally, then once vertically—and let the spray dry without touching or blending. For more on layering without disturbing your base, see reapplying sunscreen over makeup tips. Sprays tend to work best as a final step over powder or as a quick refresh after being outdoors, but they may not be the best choice if you wear contact lenses or have very sensitive eyes.
This content is for reference only and does not replace professional medical advice. If you have specific concerns about sun damage, sensitive skin, or choosing an SPF formula, consider speaking with a dermatology provider.
Step-by-Step: Apply Sunscreen Over Makeup Without Smudging
This recipe usually comes down to technique, not product type. The goal is to refresh UV protection without lifting foundation, blush, or concealer. Start with clean hands and a mirror; then follow the steps below.
Blot before you reapply
Excess oil, sweat, and moisture break down sunscreen and can make makeup slide. Blotting first creates a drier surface. Use a clean, soft tissue or oil-blotting sheet, and press gently over the forehead, nose, chin, and any shiny areas. Avoid wiping or dragging. This step removes shine without stripping makeup, so the next layer of sunscreen sits more evenly and is less likely to streak.
- Use a single-ply tissue or blotting paper, not a towel.
- Press for one to two seconds per area; do not rub.
- Focus on the T-zone and anywhere makeup tends to separate.
If you are outdoors or active, blotting also helps remove sweat before it dilutes the sunscreen film. Many people report that blotting before reapplication keeps liquid sunscreens from pilling.
Pat—never rub—liquids or cushions
After blotting, apply a sheer, makeup-friendly sunscreen. A sunscreen cushion or a liquid with a light, non-greasy finish tends to work best. Dispense a small amount onto the back of your hand, then use your ring finger or a cushion puff to pat it over makeup in thin layers. Patting deposits product without smearing pigments underneath. Rubbing or buffing will lift foundation and create uneven patches.
- Work in small sections: one cheek, then nose, forehead, and chin.
- Use a tapping or pressing motion, not circular strokes.
- Wait about a minute between thin layers if you need more coverage.
This method is a practical analogy: think of stamping a delicate watercolor rather than scrubbing a surface. It also reduces the chance of moving concealer or blush. Since sunscreen should be reapplied regularly during sun exposure, keeping a cushion compact or small liquid tube in your bag makes this easier.
Fact-checked. This content is for reference only and does not replace professional medical advice. If you have specific concerns about sun protection, skin reactions, or choosing a formula for sensitive skin, consider speaking with a dermatology provider.

Techniques for Different Makeup Finishes
Techniques vary by finish, because the formula and application method should add sun protection without breaking down the base.
Matte and full-coverage makeup
Matte and full-coverage bases often use long-wear foundation and powder, which can cake if a liquid sunscreen is rubbed on top. A pressed or loose mineral powder sunscreen applied in thin layers with a dense brush or puff tends to work better. Press the product into the skin rather than sweeping, and focus on the forehead, nose, and cheeks. This approach absorbs oil and refreshes the finish instead of adding shine.
If you prefer a liquid formula, use a damp sponge to tap a small amount over foundation, then set it with translucent powder. Avoid wiping, which can lift the base. Keep the brush clean and dry so the powder sunscreen doesn’t become hard-packed. The trade-off is that powder sunscreens are convenient, but they take several passes to build an even, protective layer.
- Blot excess oil before applying SPF.
- Press mineral powder sunscreen in with a brush or puff.
- Use a damp sponge for liquid sunscreen, then set with powder.
- Reapply after two hours or after sweating, as general sun-safety guidance advises.
Dewy or minimal makeup
Dewy or minimal makeup is more forgiving because there’s less powder and buildup to disturb. A liquid or cream sunscreen can be pressed over tinted moisturizer or skin tint with clean fingers or a damp sponge. Pat gently instead of rubbing, and let the product settle for a minute before adding blush or highlighter.
Choose a sunscreen with a hydrating or serum-like base that blends into the dew without creating a separate layer. A glowy finish may make sunscreen look shinier, so use a light dusting of powder only in the T-zone. Treat reapplication like adding another thin layer of tinted moisturizer: patting preserves the sheen, while rubbing smears it.
- Apply with clean fingers or a damp sponge using a pressing motion.
- Pick a hydrating, serum-like formula that matches your base.
- Wait a minute before layering other makeup.
- Use powder only where needed to control shine, not all over.
Fact-checked: Checked against general sun-safety guidance; not a substitute for personalized advice from a licensed healthcare professional.
If you have a specific concern, consider speaking with a dermatology provider.
How to Protect Forgotten Areas Without Ruining Your Look
When it comes to researching the method, the face gets the most attention, but the ears, neck, chest, lips, and eye area are easy to miss. These spots still get UV exposure, and protecting them does not have to mean undoing your makeup.
Ears, neck, and chest
The ears, neck, and chest are common places people forget to reapply because they sit at the edge of makeup coverage or are exposed by clothing. A clear, lightweight sunscreen mist or a powder with SPF can be easier to layer over these areas without disturbing makeup. For the ears, pat rather than rub, and make sure the tops and backs are covered.
Practical options to compare:
- Clear SPF mist: fast, but may need hand-blending around the hairline.
- SPF powder: helps control shine, but alone may give thinner coverage.
- Mineral stick: precise for ears and chest, but can feel heavier.
Whichever you choose, reapply after sweating or toweling off.
Lips and eye area
Lips and the skin around the eyes are thinner and can be sensitive, so the goal is protection without irritation. A lip balm with SPF is straightforward to reapply; just remove the top layer of lip color first if needed. For the eye area, many people avoid sunscreen because it can sting, but a fragrance-free mineral formula patted gently near the orbital bone can work without getting into the eyes.
For the upper eyelids, sunglasses are a practical backup, but they do not replace sunscreen for the brow bone and under-eye area. Avoid spray sunscreens directly on the face because inhaling the mist is not ideal and it can disrupt eyeshadow. Instead, spray onto clean hands, then press lightly over makeup.
Fact-checked: This information is for reference only and does not replace professional medical advice. If you have a specific concern about sun damage or a changing skin spot, consider speaking with a dermatology provider.
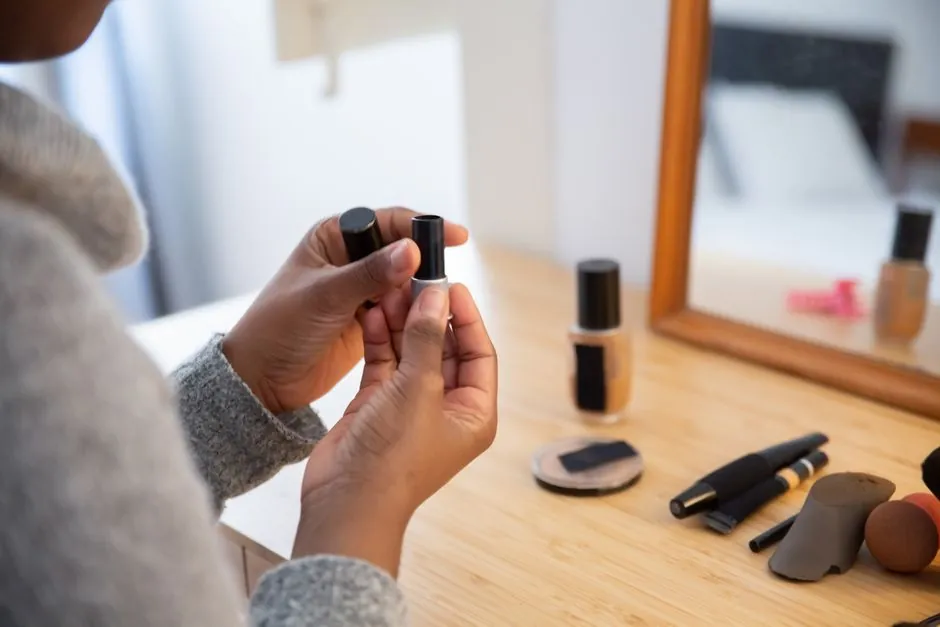
Signs Your Skin Is Getting Too Much Sun
Sun exposure affects skin in stages, and early cues are easier to reverse than later texture changes. Comparing how your skin feels during or shortly after time outdoors with how it looks weeks later helps you decide when to adjust protection.
Early signs: redness, warmth, and tightness
In the first hours after too much sun, skin may feel warm to the touch, look pink or red, and feel tight when you move your face. These reactions are caused by increased blood flow to the skin as the body responds to UV damage. The tightness often comes from moisture loss at the surface, not from deep hydration.
- Redness that appears within a few hours and fades over a day or two
- Warmth that lingers after you move indoors
- Tightness or a dry, papery feel, especially on the cheeks and forehead
If you notice these signs, reducing further exposure matters. For daily protection, this version can help you maintain coverage without starting your look over. The goal is to slow additional UV exposure while the skin recovers.
Longer-term changes: dark spots and rough texture
Repeated sun exposure can shift skin texture and tone over months. Dark spots, sometimes called sun spots, may appear on the nose, cheeks, forehead, or hands. These form when pigment-producing cells become overactive in response to UV light. The spots are not always a sign of a serious problem, but a changing or irregular spot should be checked by a qualified professional.
Rough texture is another gradual cue. Skin may feel less smooth, with visible dry patches or a thickened, leathery feel in areas that get frequent sun. This happens as the outer layer responds to repeated irritation and moisture loss. The trade-off is that these changes develop slowly, so they can be easy to overlook until they are more established.
Fact-checked: This general information is for reference only and does not replace professional medical advice. If you have a specific concern, consider speaking with a dermatology provider.
When to See a Doctor: Sun Damage Red Flags
Fact-checked
Sun damage can accumulate slowly, so it helps to know which skin changes are usually harmless and which are worth a closer look. The signs below are general patterns, not a way to diagnose a specific condition. If something feels new, persistent, or unusual for you, a qualified healthcare professional can help sort out what is normal.
New or changing moles
A mole that changes over time may deserve attention, but many harmless moles also shift slightly with age, sun exposure, or hormonal changes. A useful self-check is to compare one spot against your other moles and look for an “ugly duckling” that stands out. Common features clinicians ask about include:
- Asymmetry: one half does not match the other.
- Border: edges look uneven, blurred, or notched.
- Color: multiple shades of brown, black, red, white, or blue appear.
- Diameter: larger than a pencil eraser, though size alone is not decisive.
- Evolving: size, shape, color, or symptoms such as itching change over weeks or months.
This list is a screening aid, not a diagnosis. Taking monthly photos in similar lighting can make subtle changes easier to notice. While you track changes, keeping up with sun protection still matters; practical tips such as this recipe can help you maintain coverage during the day.
Spots that bleed, itch, or don't heal
A spot that repeatedly bleeds, forms a crust, or stays open may be a red flag, especially if there is no clear injury. Itching is common with dry skin, but persistent itching in one spot or sore can be a reason to have it checked. A sore that heals and then reopens, or one that does not heal within a few weeks, often warrants evaluation.
Watch for these patterns:
- Bleeding without a known scrape or cut.
- Itching that does not settle with basic moisturizing and lasts beyond a couple of weeks.
- A sore or rough patch that remains open, crusted, or tender for several weeks.
- A spot that scabs over, falls off, and then returns in the same place.
These symptoms do not automatically mean a serious problem, but they are less common in ordinary dry skin or mild irritation. If you have a specific concern about a changing mole or a spot that won’t heal, consider speaking with a dermatology provider. This content is for reference only and does not replace professional medical advice.
Conclusion
When comparing this product, a common trade-off emerges: mists and powders are easy to layer without disturbing coverage, but they tend to be harder to apply evenly than a traditional lotion, so they require a more generous and methodical hand. Tinted mineral powders and SPF sprays each have practical strengths, but neither replaces a reliable base layer in the morning nor sensible sun avoidance during peak hours.
If you are weighing options, the deciding factor may be less about which product is best in theory and more about which format you will actually use consistently before commuting home or sitting near a window. Where does your routine usually break down—application speed, texture, or reapplying without ruining makeup—and which trade-off are you willing to accept on a high-exposure day? If a specific skin concern continues, a board-certified dermatologist can help you compare options safely.
References
- Reapply Sunscreen on Top of Makeup | TikTok (tiktok.com)
- How to Use Sunscreen With Makeup: 9 Steps (with Pictures) (wikihow.com)